Credit Card Payments with Stripe

Updated over a week ago
Sending an invoice is one thing, but getting paid is another. Our integration with Stripe lets you leverage of their extensive payments network and Billy’s simple invoicing system. Let’s get started!
Note: if you have trouble, log in via Stripe using a different tab on your browser, and then try 'Accept Credit Cards' procedure again.
Setting up your Stripe Account
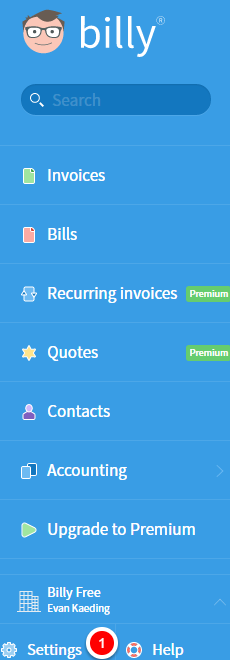
1) Navigate to the 'Settings' menu in bottom left corner of your window.
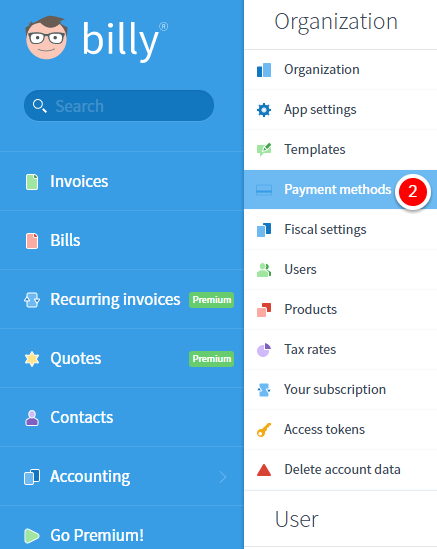
2) Navigate to the 'Payment methods' menu under the organization settings.
3) Click the button in the top right of your screen that says 'Add payment method'.

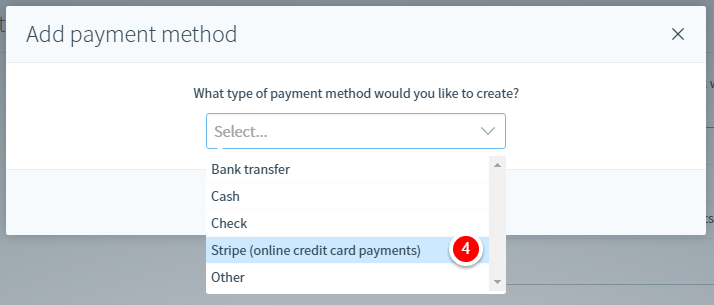
4) You'll be prompted to add a new payment method on your screen. Select 'Stripe' from the drop down menu and continue to create your Stripe account.
You'll be asked to enter your information to create an account with Stripe. If you have an existing account with Stripe, you can log in at this time an authorize your Billy organization.
5) Great! Now you've created a Stripe account with your connected your bank account, you are ready to start accepting credit card payments on your invoices. When customers pay, you'll receive an email notification from Billy that your payment is being processed. After the initial 7 day waiting period, each payment thereafter will be automatically deposited to your bank account within 48 hours with the Stripe fee already taken out.
If you manage multiple organizations in Billy, you'll need to go through the same process to add your Stripe account to each organization. However, instead of creating a new Stripe account every time, you can simply log in to your existing Stripe account when adding the new payment method.
Sending an Invoice with Credit Card Payments Enabled
I'm sure you might be curious to know how your new Stripe account will affect the way your customers see and interact with their invoices. This section will show you exactly what they'll see when you send them an invoice with credit card payments enabled.
1) When you're creating your invoice, make sure to enable 'Stripe' as one of your payment methods.
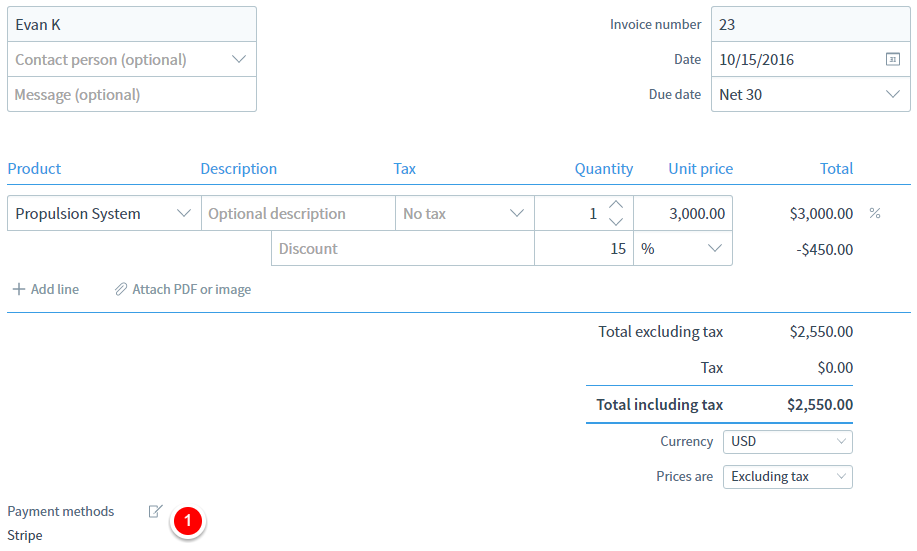
2) When you're done creating your invoice, you'll be able to see a preview of your credit card enabled invoice.

You can click on the button at the bottom of the invoice that says 'Pay online with debit/credit card' to see what your customer will see when they receive the invoice.
3) You are now in your own 'Customer Portal'. This is what your customers see when they view their invoices online. They can pay the invoice using a credit or debit card by clicking either of the buttons below.

4) Your customer will now be able to enter their payment information as shown on the screen below.
